
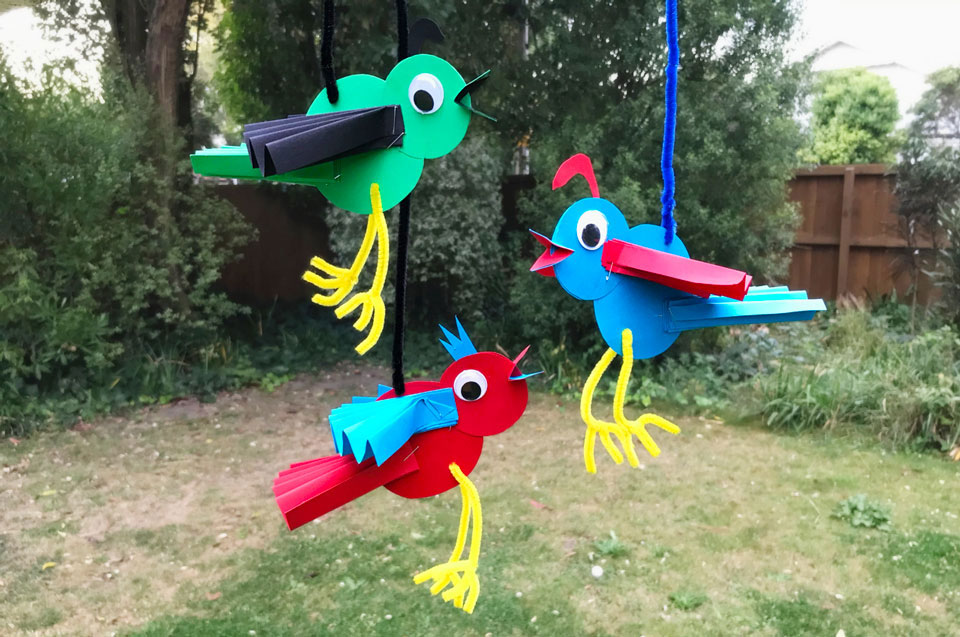
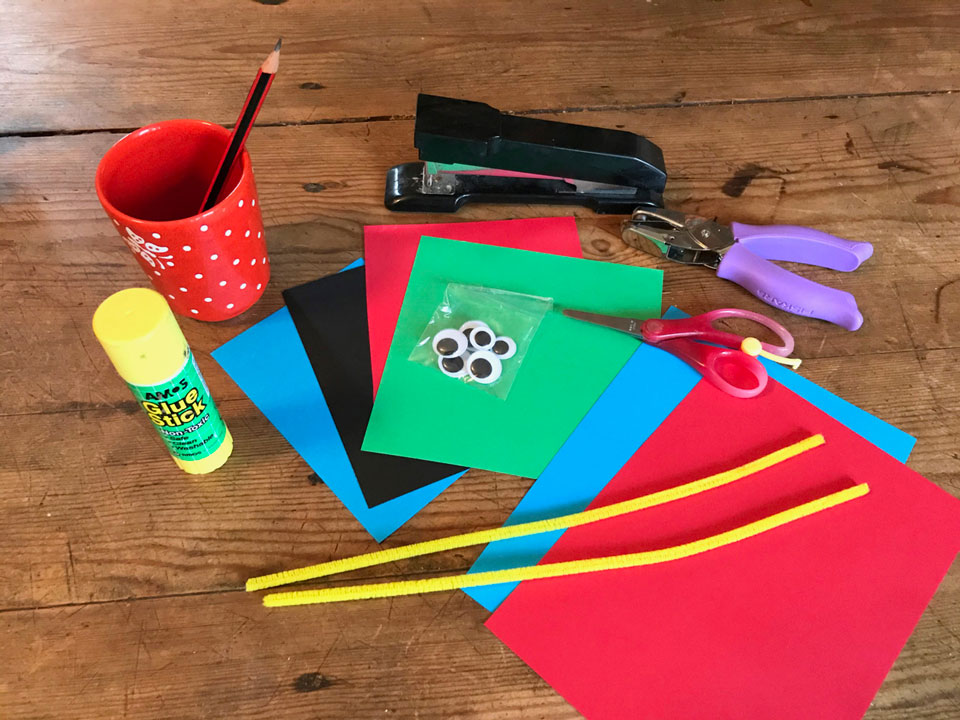
You will need
- Coloured card
- Coloured or patterned paper
- Pipe-cleaners
- Ooglie-Booglie eyes! Or just a pen!
- Scissors
- Stapler
- Glue stick
- A small hole-punch, or nail or pin.
Step 1:
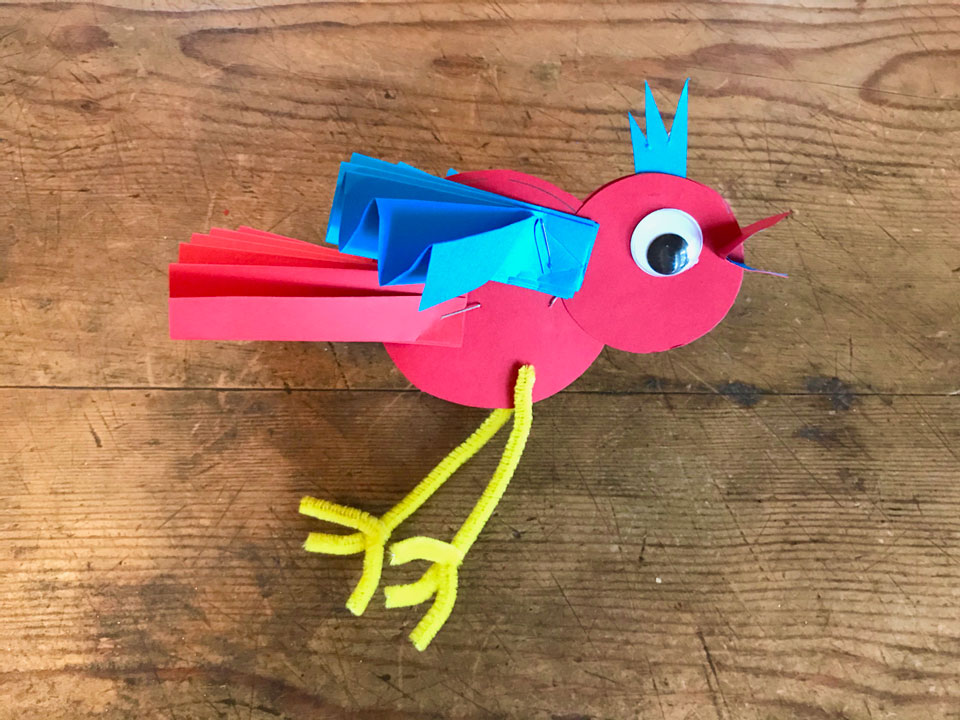
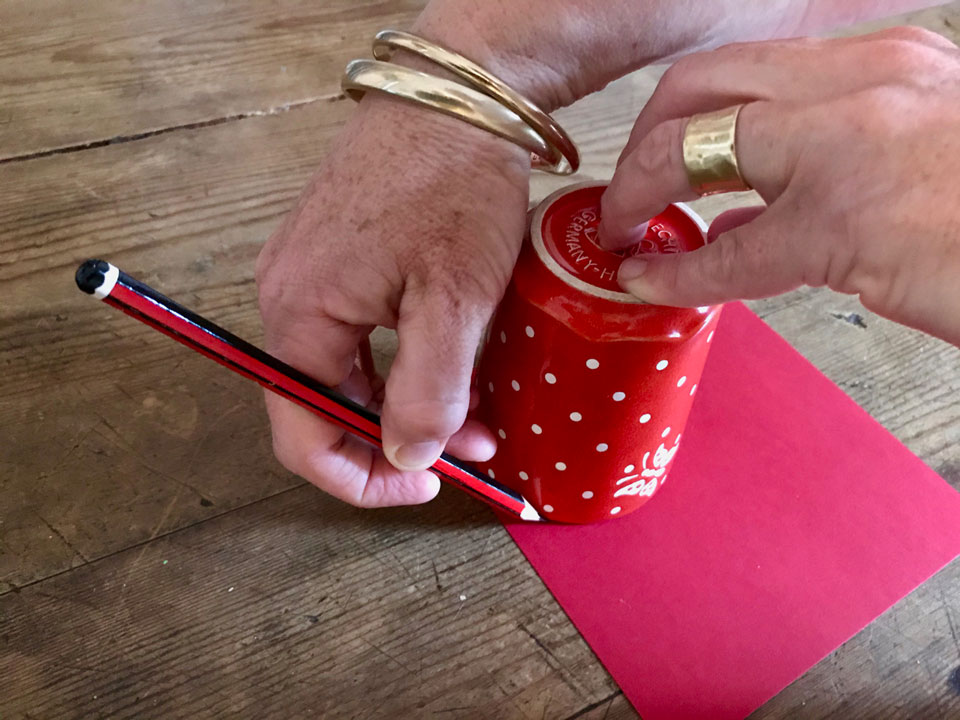
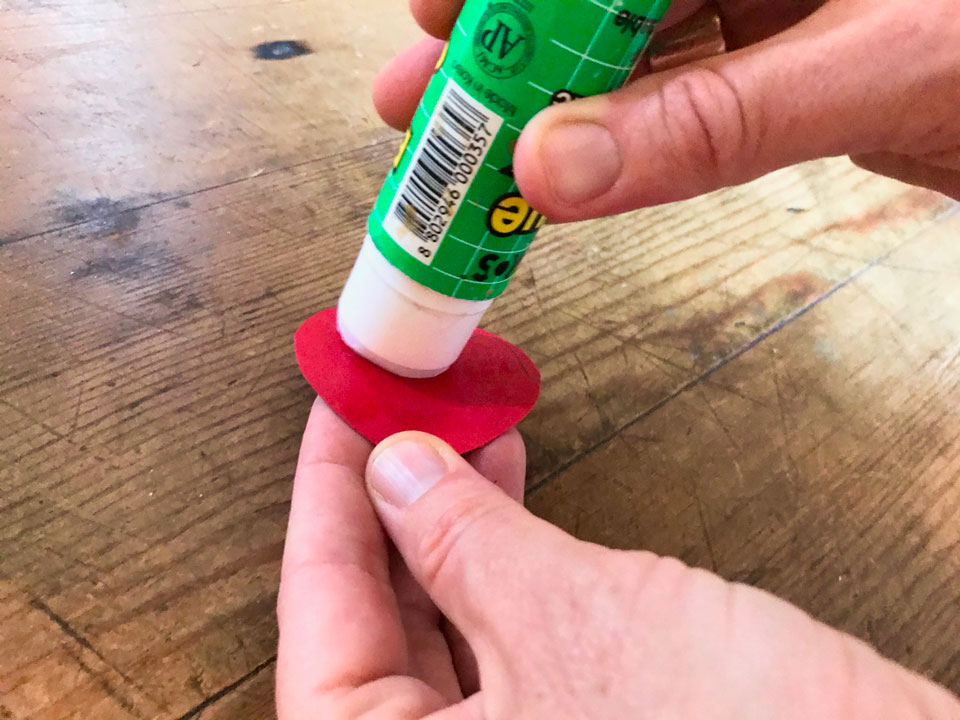
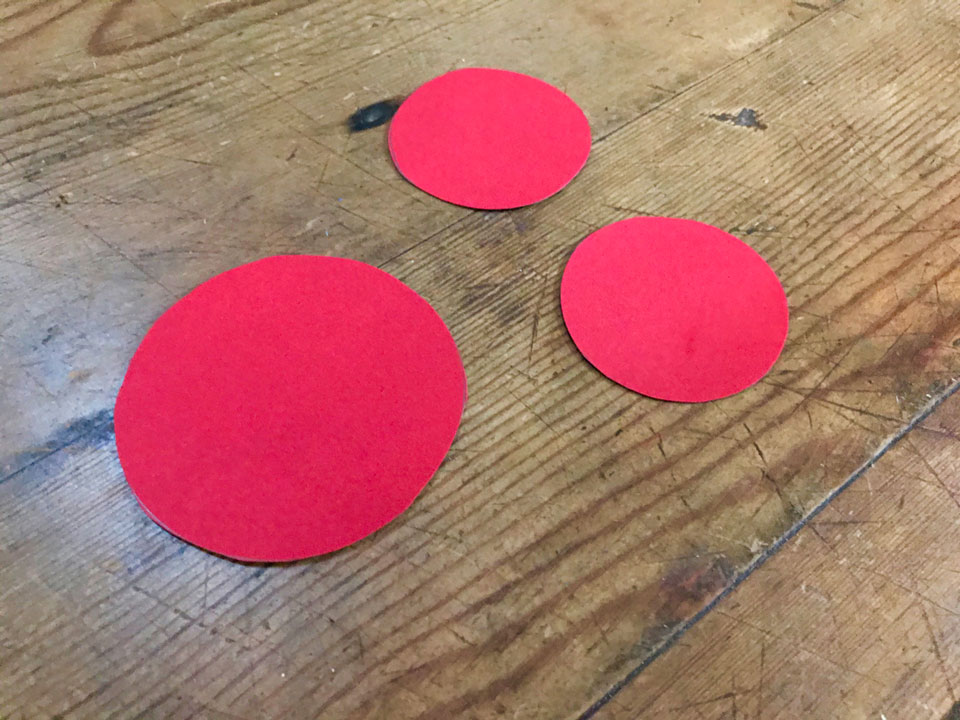
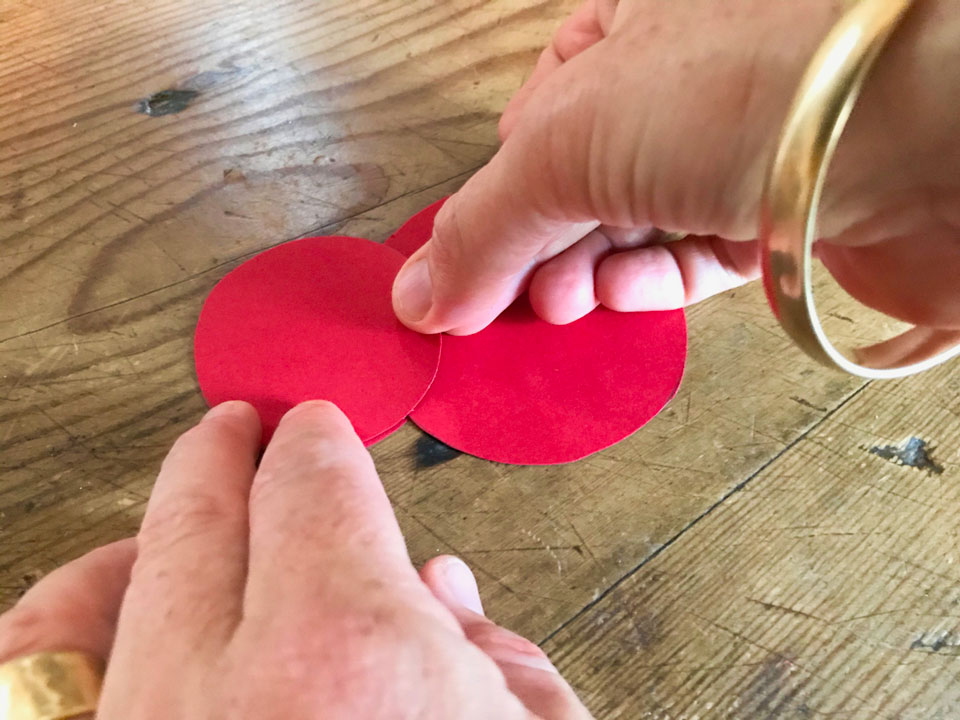
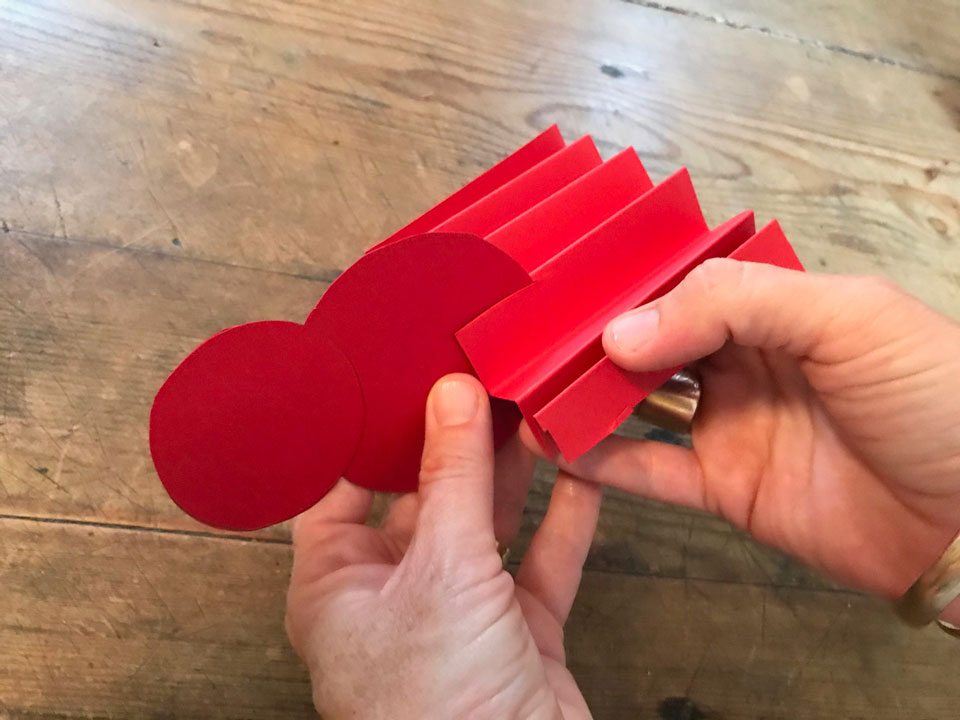
Use the top of a round cup to draw a circle on your coloured card. Use the bottom of the cup to draw two smaller circles, and cut out the three circles with your scissors. The two smaller circles will be glued either side of the edge of the larger circle to make the larger circle. So you have a body with a head that sticks out a bit.
Ask an adult for help before you use the scissors!
Step 2:
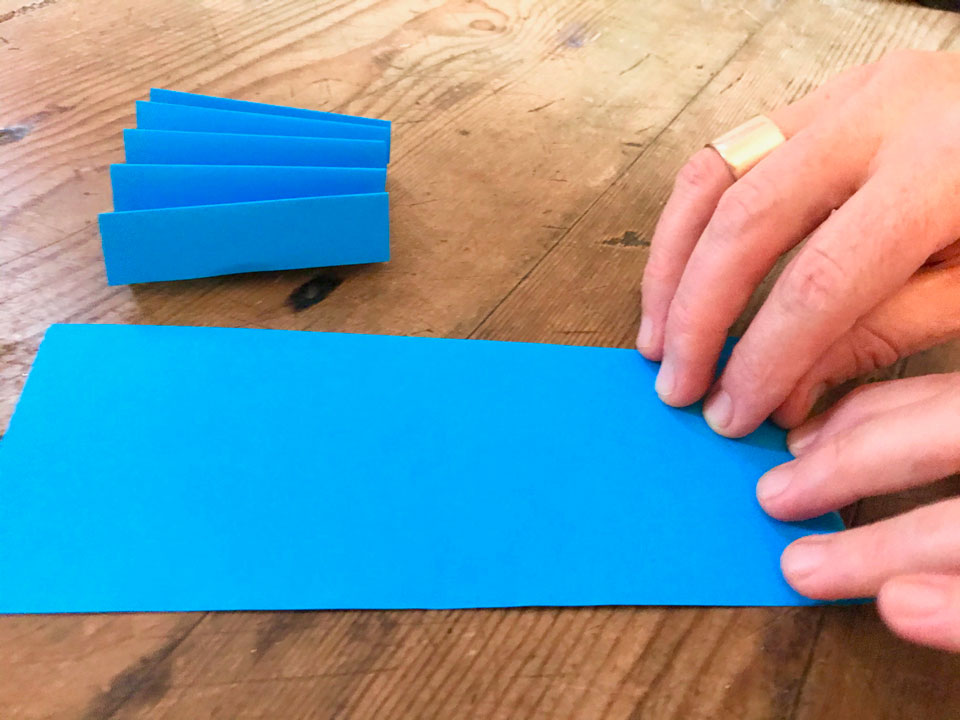
Cut a long rectangle of coloured or patterned paper and fold it ‘concertina style’ to create a fan. If you don’t have coloured paper, how about tinfoil, baking paper or wrapping paper? This will be the bird’s tail. Repeat this two more times with a different colour to create the wings.
Step 3:
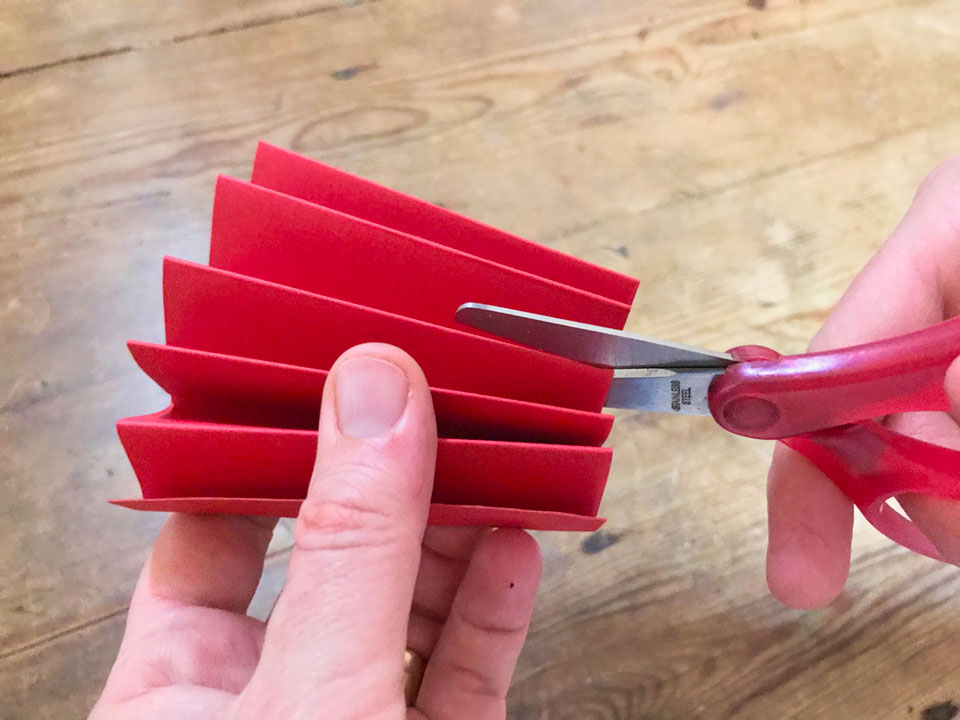
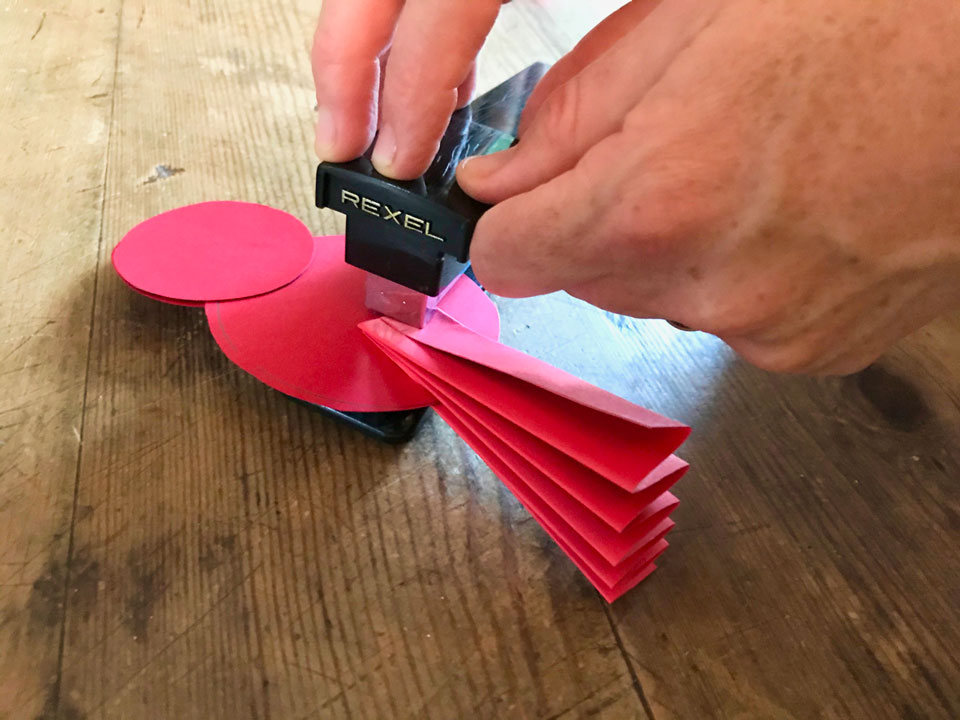
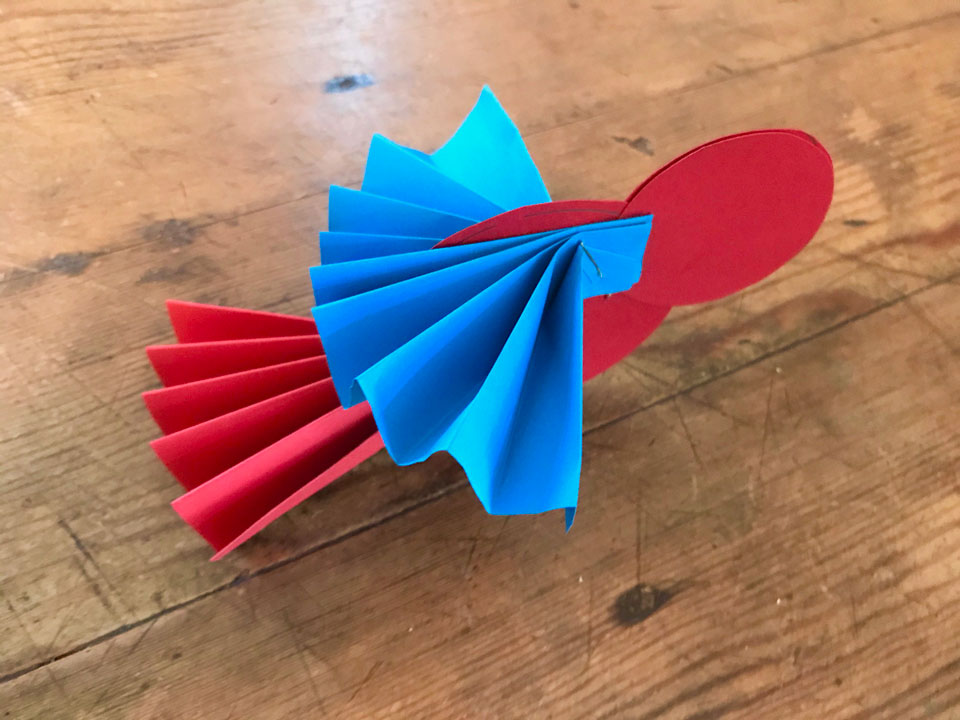
In the middle of the tail fan, cut a slot along one of the folds – this will help attach the tail to the body. Slot the tail fan onto the body and staple – first just one side of the fan to the body, then another staple all the way through. Now staple the wings to the body.
Step 4:
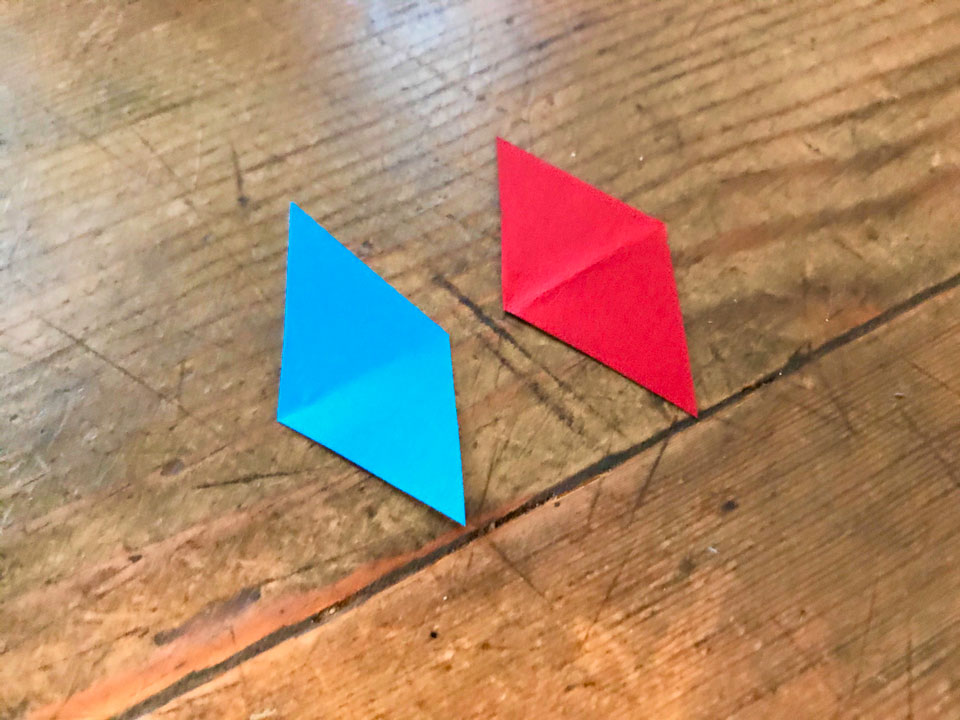
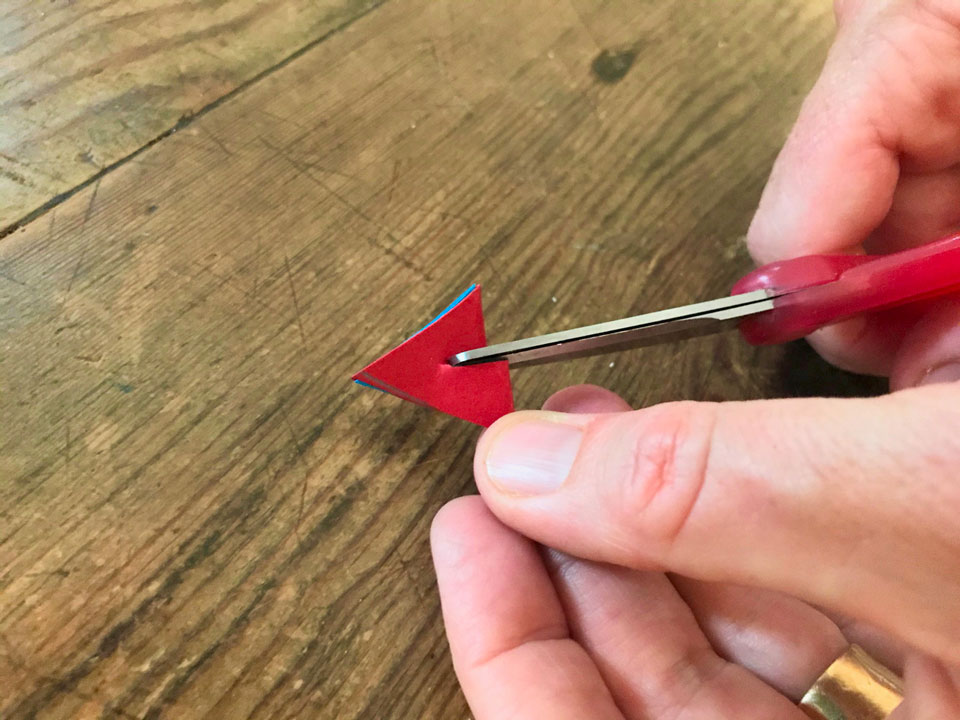
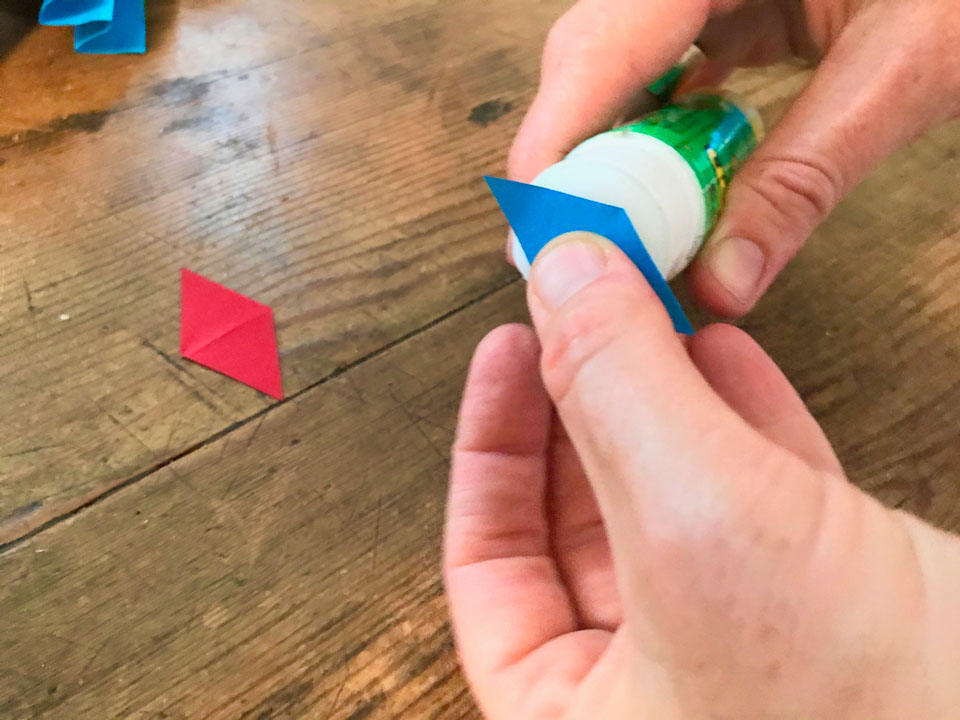
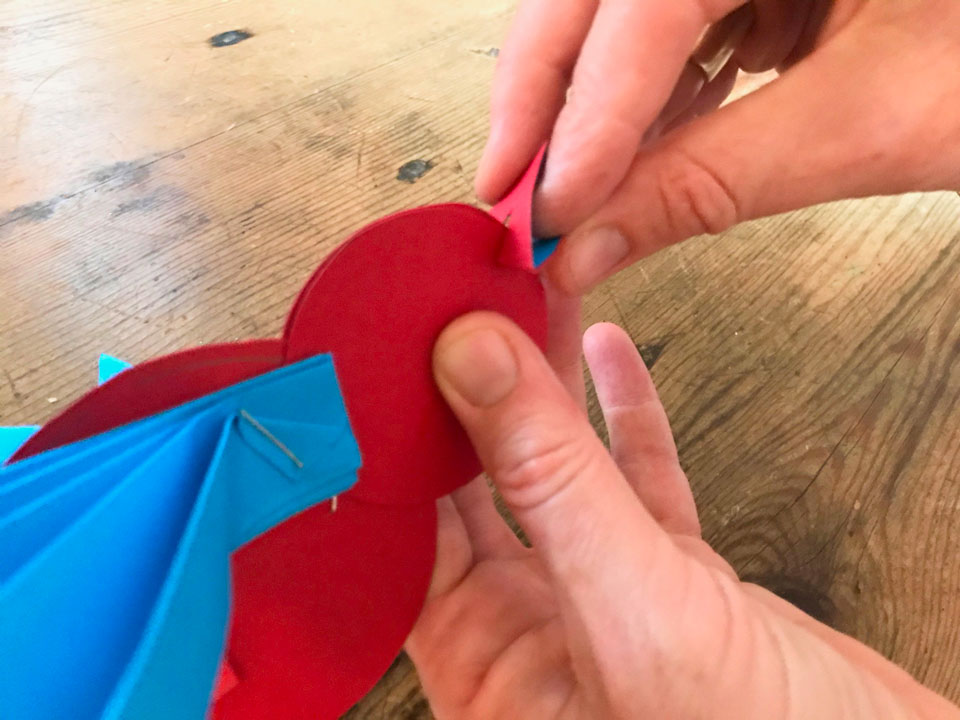
To make the beak, cut two small rectangles of different coloured card and fold them in half. Put the two pieces together and cut a triangle shape from the folded edge. Now you’ll have two diamond shapes – glue them together, press down on the fold again, and cut a slot across the fold. Then you can push the beak onto the bird’s head.
Step 5:
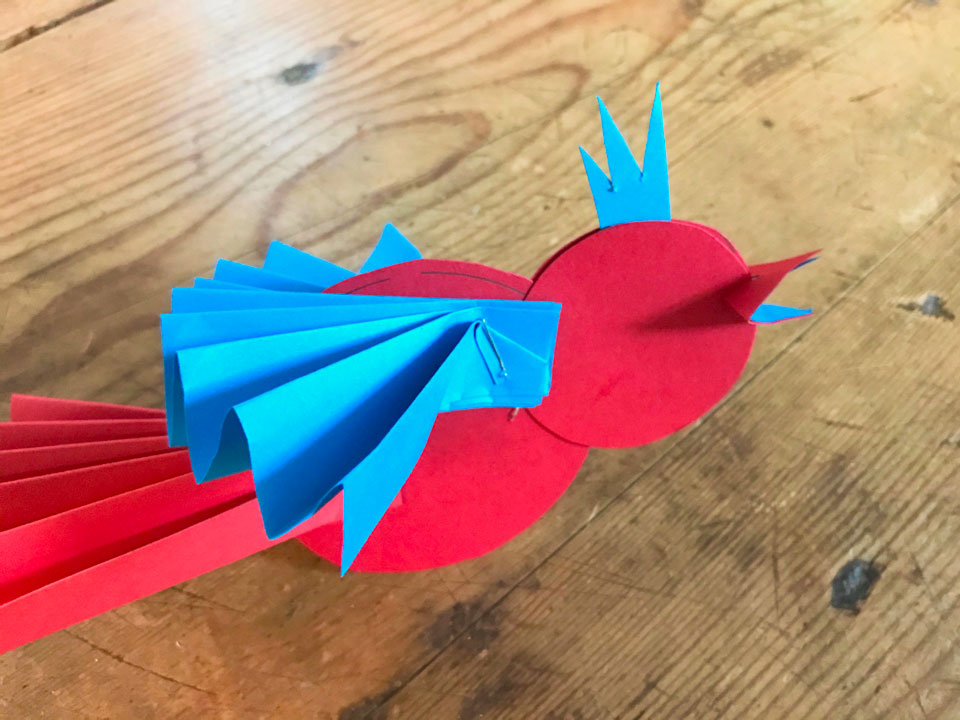
Cut a feather shape for the head and push it between the two head circles.
Step 6:
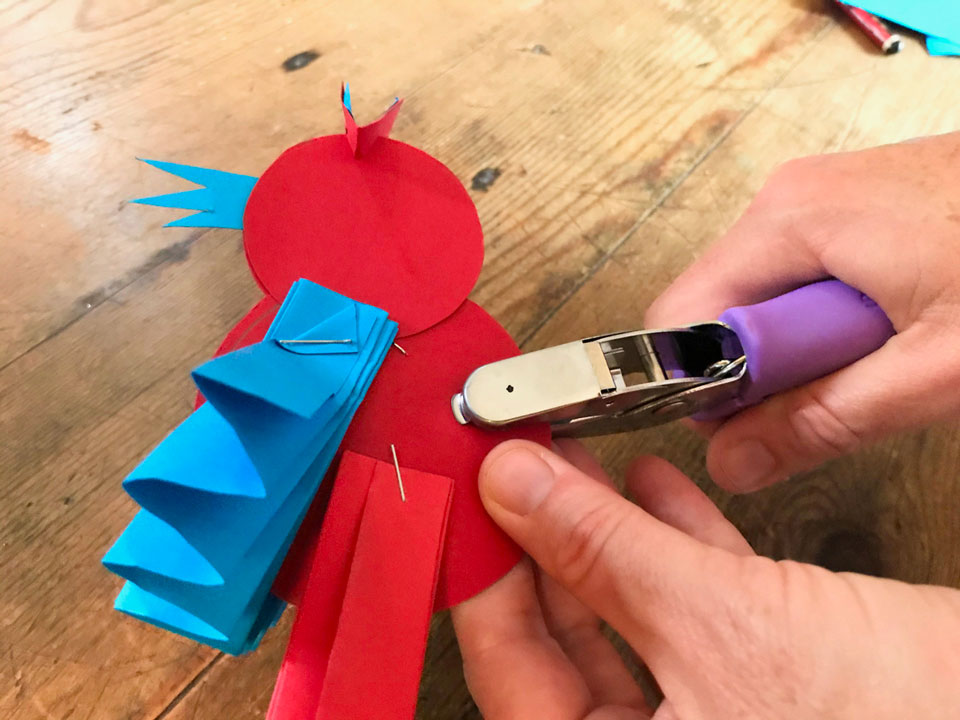
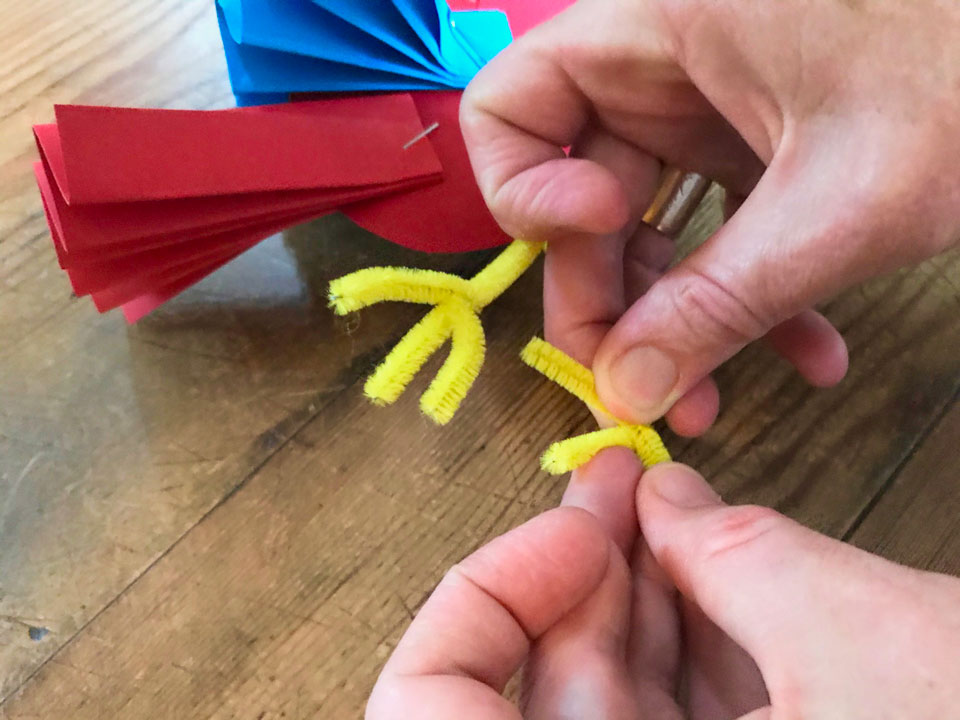
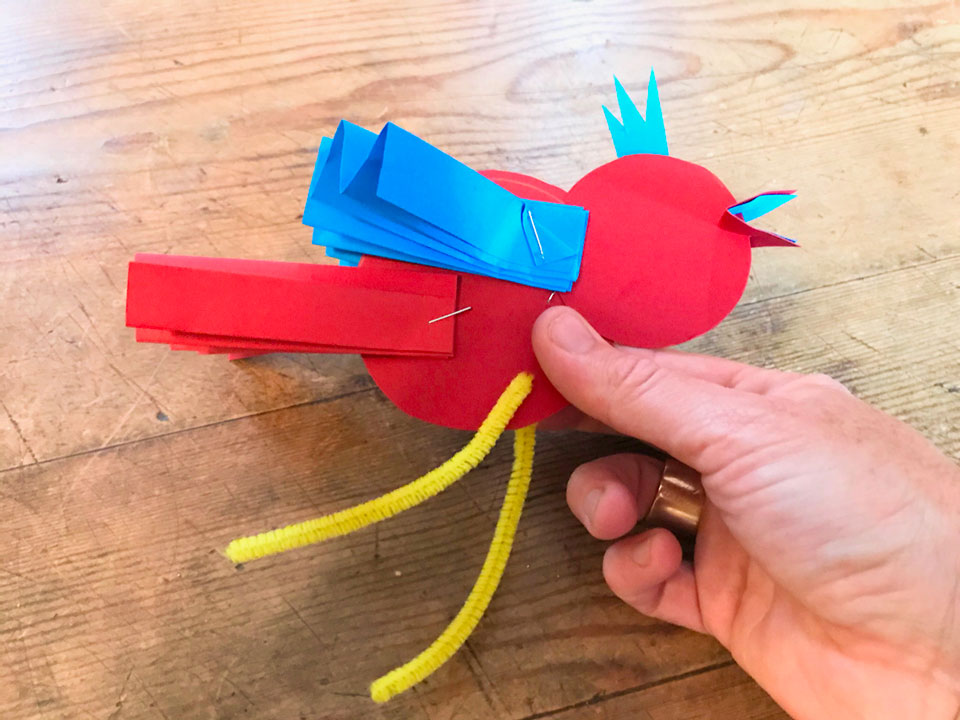
Use a hole-punch or a nail to make a small hole at the base of the body. Cut a ¾ length of pipe-cleaner and push it through the hole to make two legs. Cut the remaining ¼ in half, and twist the pieces onto the ends of the legs to make the feet.
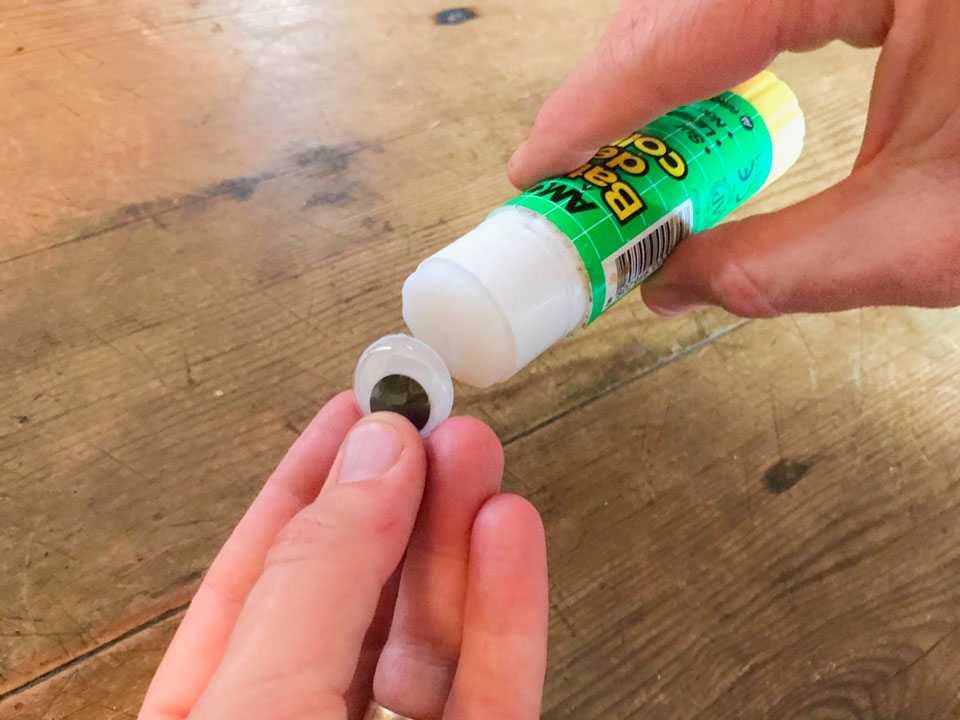
If you have any ooglie-booglie eyes glue them to each side of the head. If not, cut circles of paper, or draw some cute eyes with a marker pen!
Step 7:
Make another small hole at the top of the body to hang the bird with string or a pipe-cleaner, and voila! Your bird is hatched!